Monday 31 January 2022

Caramel Stuffed Chocolate Chip Cookies

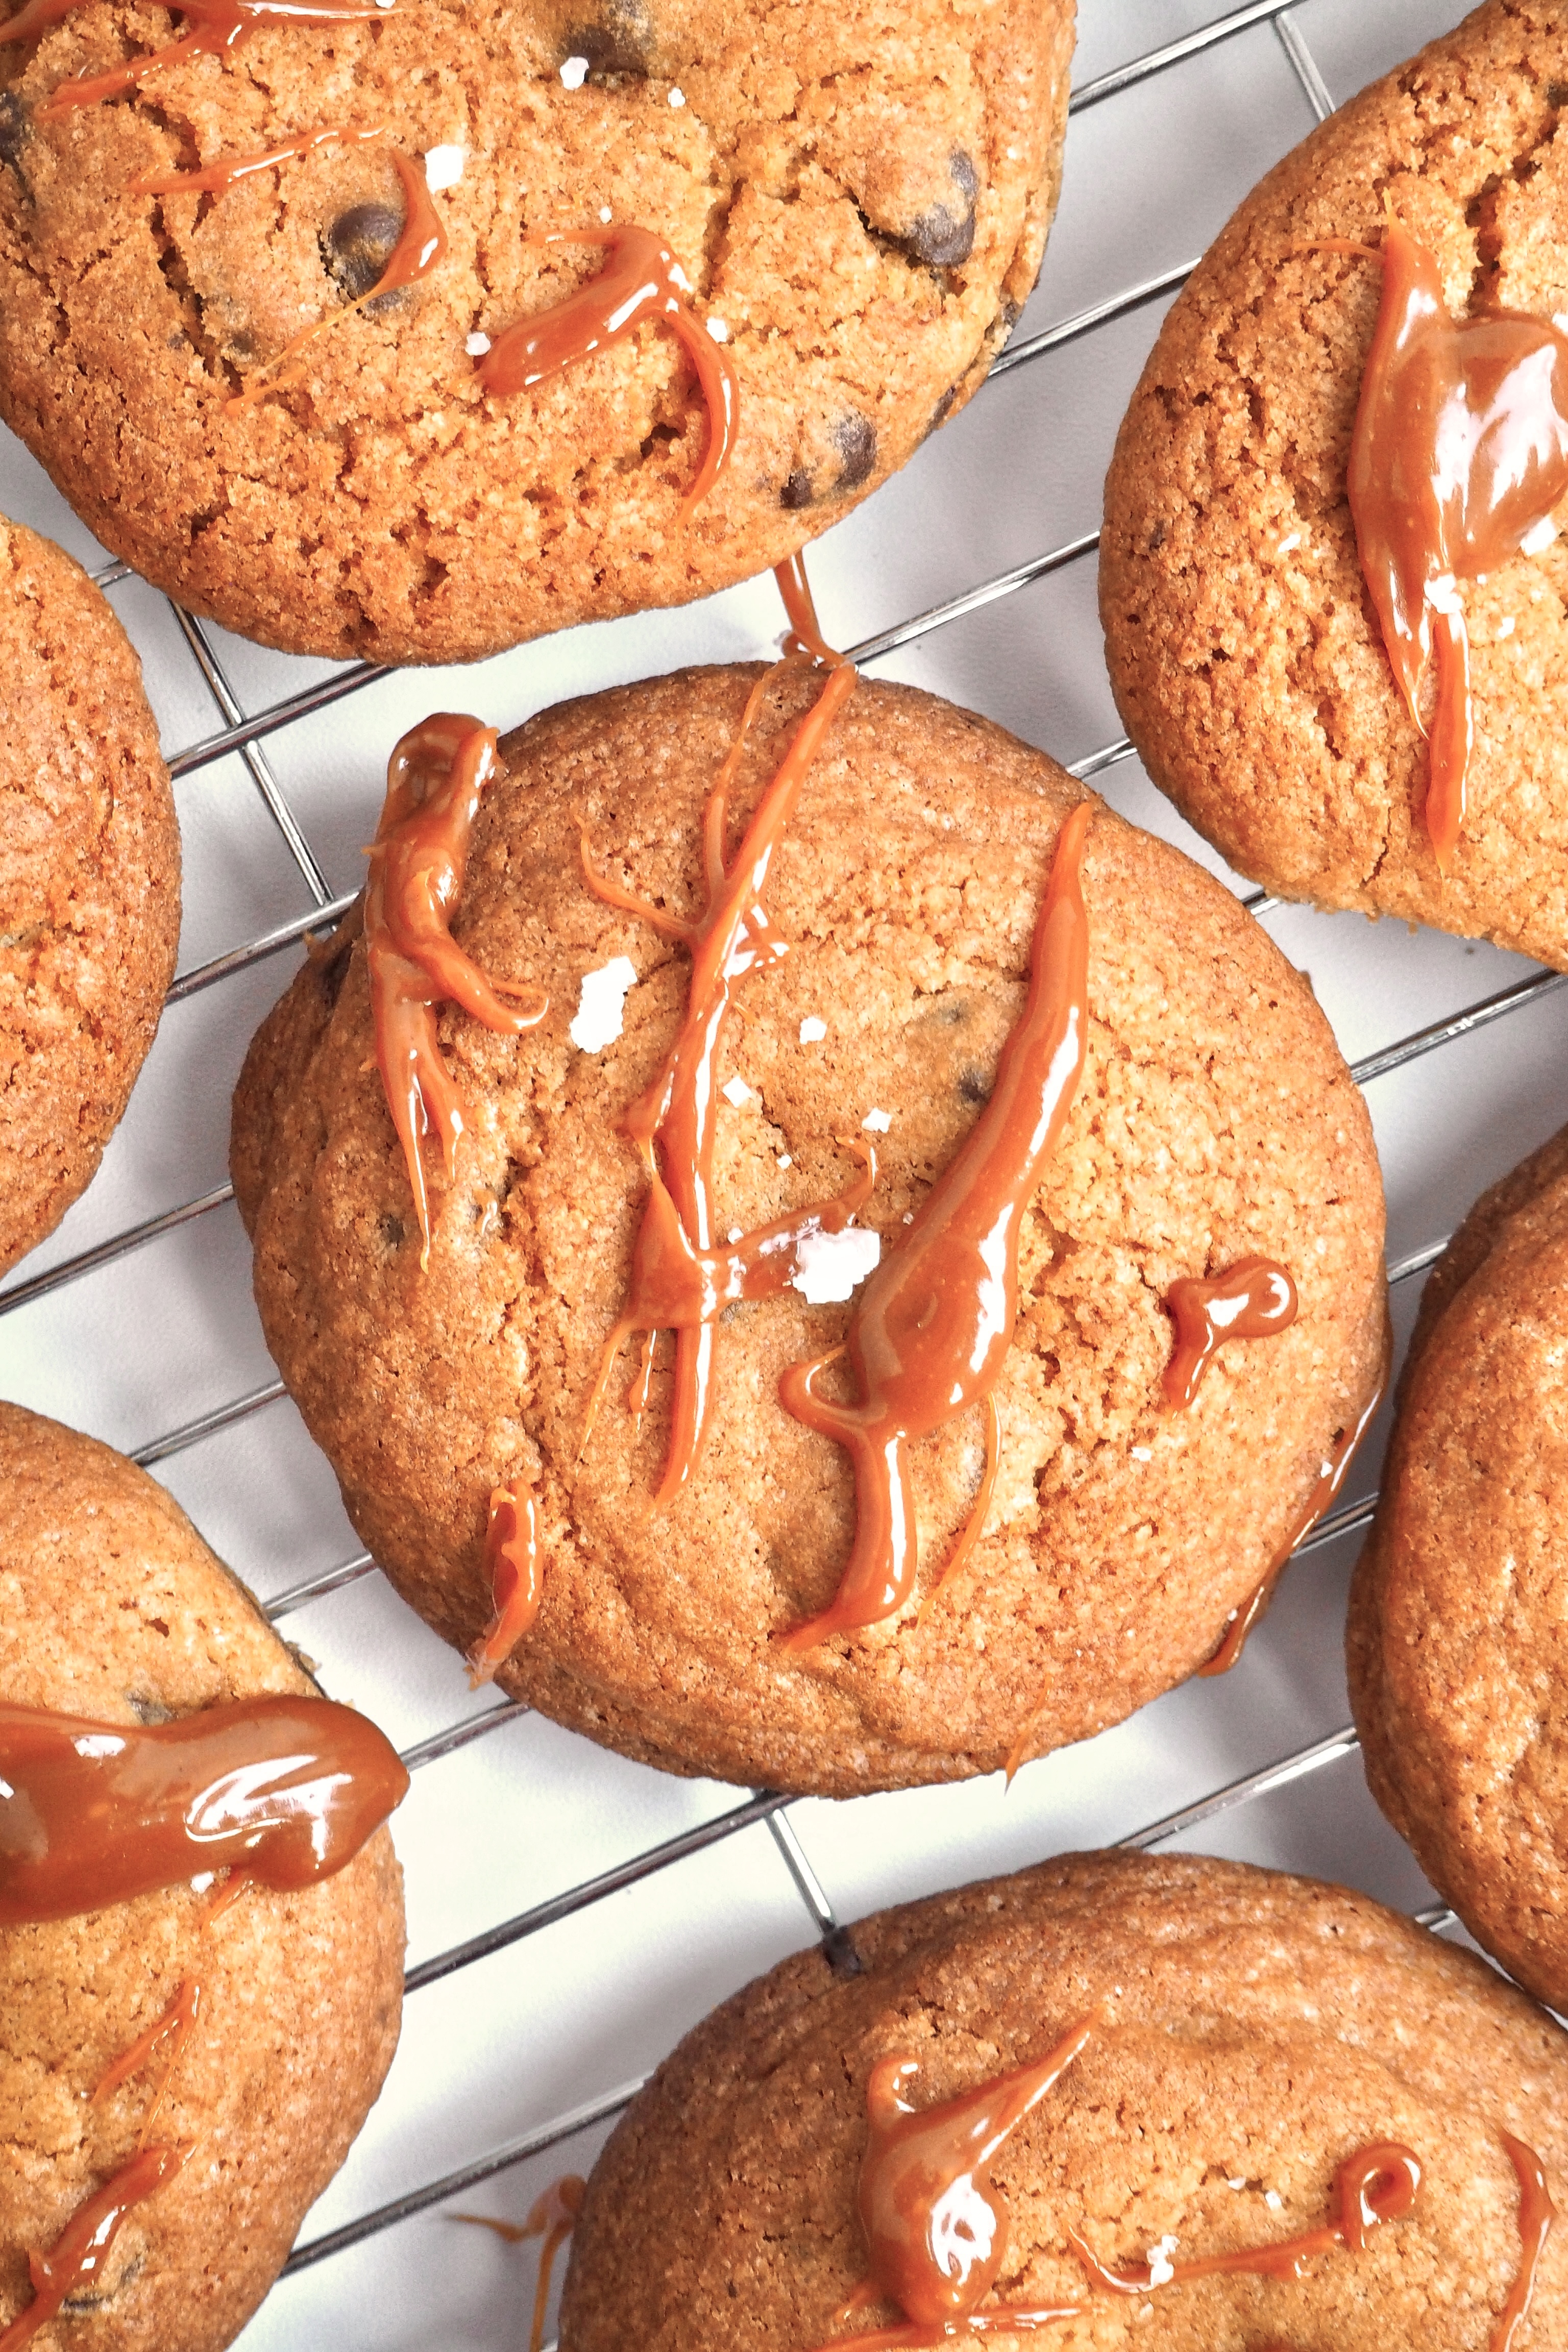
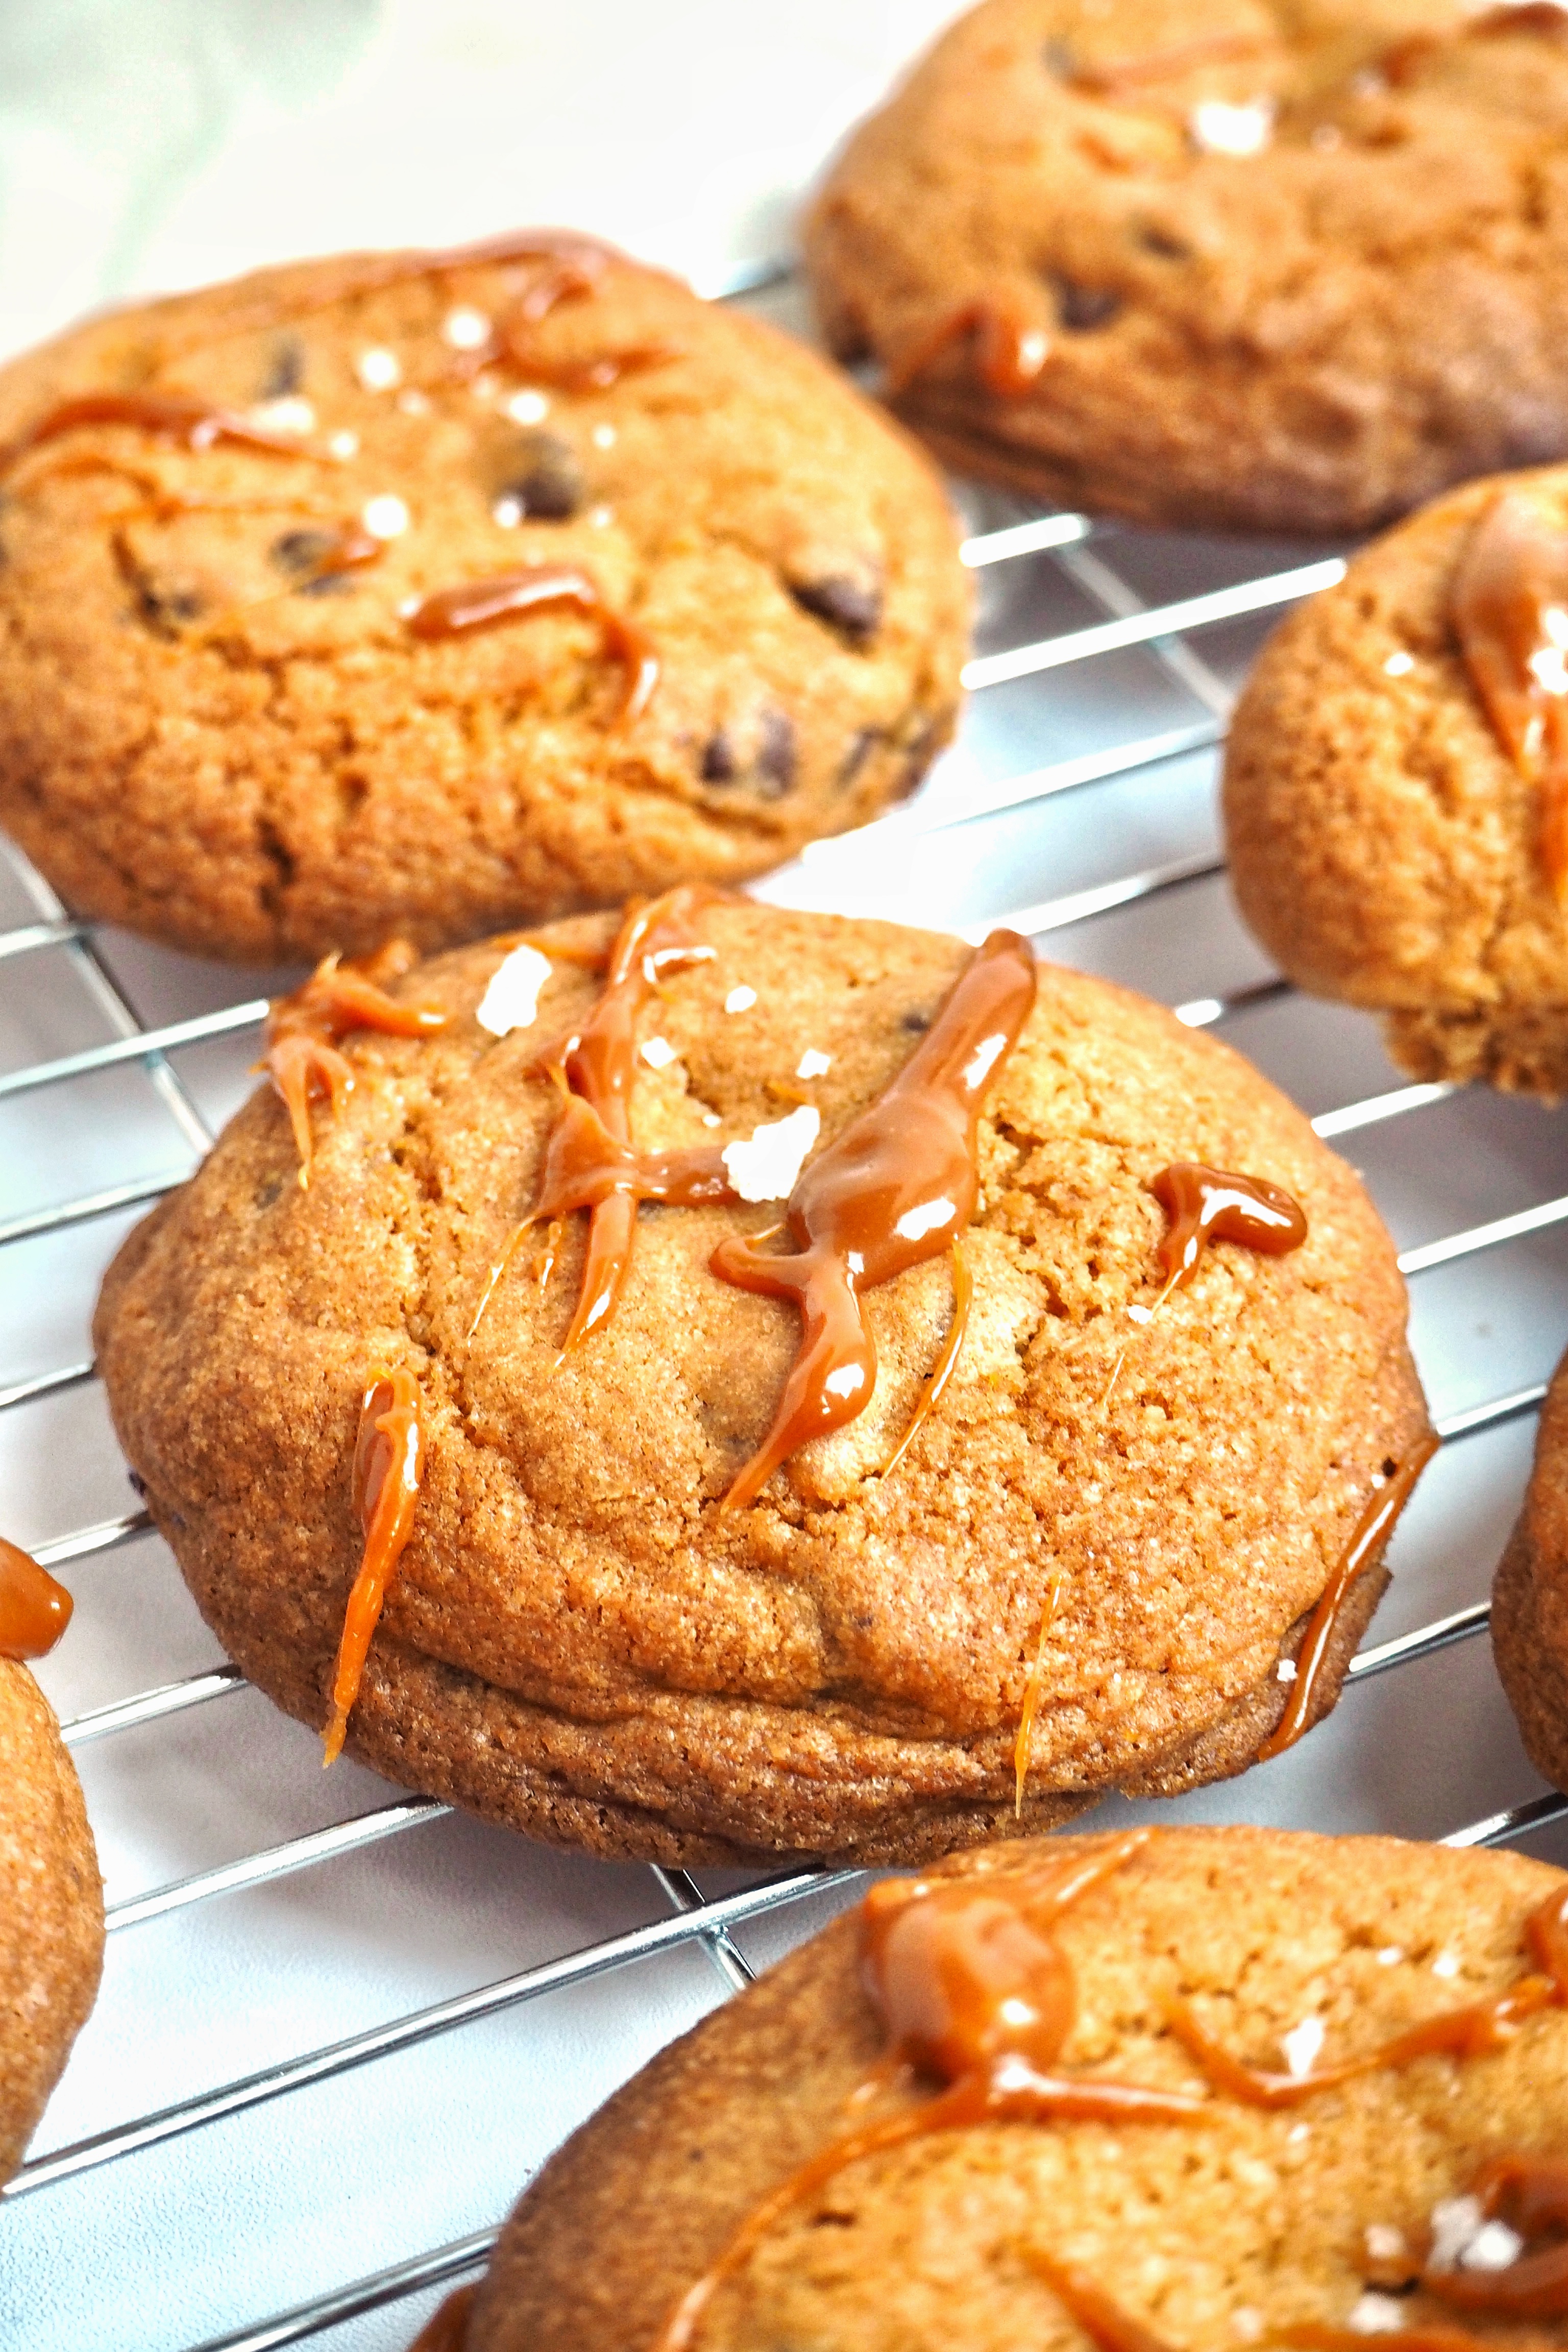
 Gooey chocolate chip cookies oozing with a delicious creamy caramel!
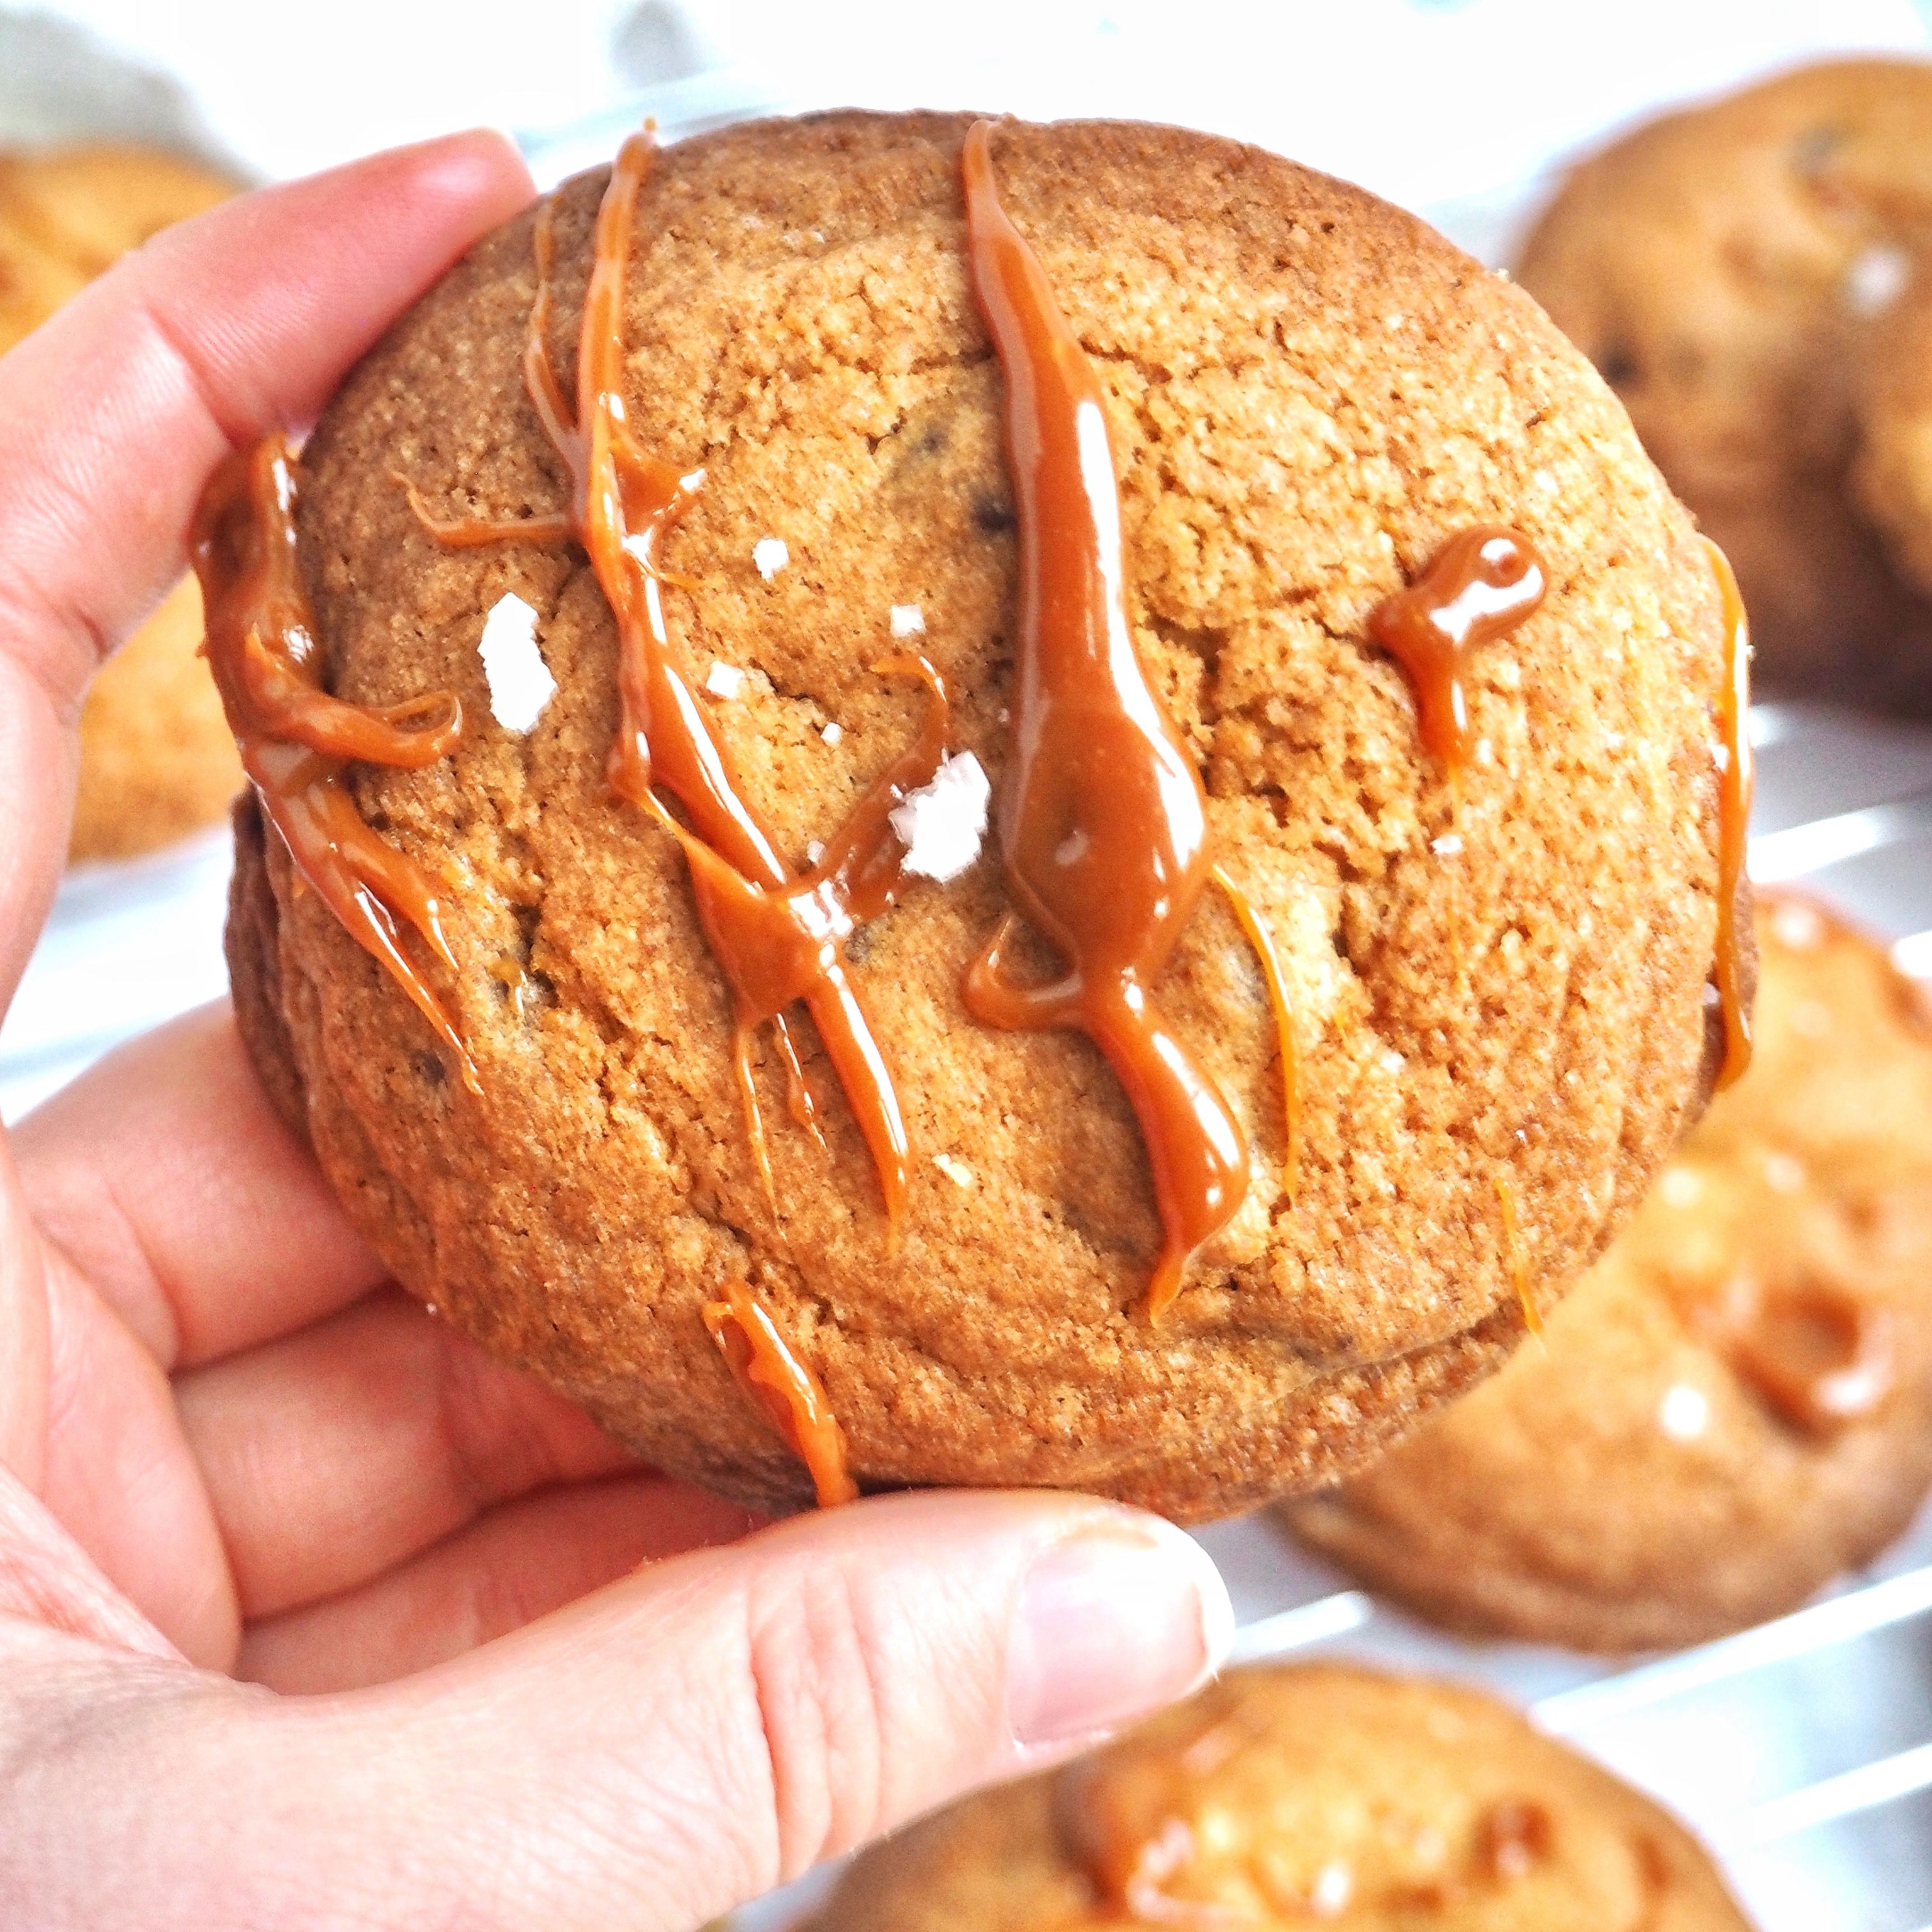
I love all things caramel, especially the gooey, runny kind that melts in your mouth. When I first started baking the idea of a stuffed caramel cookie never even entered my mind until one day I just knew I needed something to satisfy my love for both cookies and caramel. I was originally going to use white chocolate chips, then I thought that might be a little too sweet (never though I'd say that with my sweet tooth) and I'm glad I changed to dark. The dark chocolate balances out that sweetness perfectly! These cookies are a little chunkier than your usual so they can hold that beautiful golden filling and they are the perfect snack or dessert especially with a simple serving of vanilla ice cream - even better when the cookies are straight from the oven ;) 

If you love cookies and caramel....

Check out these recipes for more inspiration!

Recipe

Prep: 15 minutes
Cook: 16 minutes
Serves: 12 

Notes:

  • For the caramel if you want to keep this recipe vegan you'll need to make the caramel ahead of time so it can cool down and firm up. It is best to have a firm caramel for this recipe as it will become more fluid as the cookies bake. You will also need a thermometer for the caramel to cook to 118-121℃. If you don't feel confident making the caramel, you can use store-bought caramels. 

Ingredients

  • 260g Plain flour
  • 100g Caster sugar
  • 60g Light brown sugar
  • 150g Butter
  • 20ml Soya milk
  • 50g Applesauce
  • x12 Caramel candies - I use this recipe (it is best to have a firm caramel for this recipe, it will become more fluid as it bakes )
  • ¼ tsp Bicarbonate of soda
  • Pinch of salt
  • 150g Dark chocolate chips


Method

  1. If you are making the caramels, you'll need to do this first using this recipe to allow them to cool so you can roll them up in the cookie dough. 
  2. Grease and line x2 cookie trays with baking paper.
  3. Use an electric mixer or hand whisk to cream together the butter and sugars. Then whisk in the applesauce until smooth - it may split a little but that's okay just add a spoonful of the flour and mix in.
  4. In a separate bowl, combine the flour, cornflour, salt, bicarbonate of soda and mix. 
  5. Add the dry mix into the wet to form a rough dough, then fold in the chocolate chips. 
  6. Scoop out 6 balls of the same size - spoon the caramel on top of each dough ball. Then top each one with more dough to encase the caramel. Roll each ball so that it is a neater sphere shape. 
  7. Place the cookie dough balls into the fridge for 30 minutes.
  8. Preheat the oven to 170℃ after about 20 minutes.
  9. Remove the trays from the fridge and bake for 15-16 minutes until golden brown. 
  10. Leave to cool slightly before eating or store in airtight container for up to 3 days. Enjoy!

Christina
xx
Share:

Monday 24 January 2022

Vegan 'Kinder Bueno' Brownies

Fudgy, chewy brownies filled with a delicious creamy alternative to kinder buenos!

Now that we have vegan alternatives to kinder buenos in the name of Love Raw (you guys are geniuses) there is no excuse for us vegans to be missing out on ALL of the 'kinder bueno' bakes. I started off with my cookie bars which were a hit at with my work colleagues and now we have another beautiful traybake. I still love to develop my brownie recipes, those good old egg replacers keep me on my toes. And this time I used Alpro's Greek Style Yoghurt which gave them a gorgeous thick texture and took away any cakey texture that to me just isn't welcome in a brownie. The 'kinder buenos' are perfectly sandwiched in-between the brownie, so yes it's a vegan 'kinder bueno' brownie sandwich. 


If you love brownies and chocolate....

Check out my other recipes for more inspiration!

Recipe

Prep: 15 minutes
Cook: 30-35 minutes
Serves: 16

Notes:

  • Although I highly recommend using Love Raw Cream Filled Wafer Bars, I understand these may not be easy to access for everyone. If that is the case you could use the standard Kinder Buenos if you are not following a vegan or dairy free diet. 
  • If you cannot find the vegan yoghurt, any greek style yoghurt should work as long as its on the thicker side - this makes the brownies fudgy!

Ingredients


Method

  1. Preheat the oven to 180℃ and grease and line a 9x9 inch square cake tin.
  2. Melt together the butter and milk chocolate in the microwave or over a Bain-marie.
  3. In a large bowl. sift together the flour, cocoa powder, baking powder and salt.
  4. In a separate large bowl whisk together the sugar, yoghurt and butter/chocolate mix. Whisk vigorously for about 2 minutes to get some air into the mixture.
  5. Then spoon the wet mixture into the dry mix. Fold through the white chocolate chips.
  6. Spoon half of the brownie batter into the tin and spread out evenly. Line 7 of the single Love Raw bars along and then cut the rest in half so that you can lay 2 squares adjoined to each column. So you should have 7 columns of 6 squares of chocolate. 
  7. Then spoon the rest of the brownie batter on top and spread out evenly and carefully.
  8. Bake in the oven for 30-35 minutes, a knife inserted shouldn't come out clean as the brownies will continue to bake once out of the oven.
  9. Leave to cool in the tin before removing. I find the brownies better once they've cooled down for a few hours and really developed the flavours. But you can wait till for about 1 hour then slice and serve.
  10. Best stored in an airtight container up to 3 days. Enjoy!

Christina
xx
Share:

Thursday 20 January 2022

White Chocolate Biscoff Rocky Road

 An easy no-bake recipe, perfect for those of you who live for a rocky road and are a big lover of biscoff!


I only really make rocky road recipes for my sister, she loves them and I don't make them too often but when I do she goes crazy for the whole lot! She loves the simplicity of throwing together some chocolate, marshmallows, biscuits and then you have this glorious dessert you just can't get enough of. There isn't a comparison to any other recipe. And the idea that biscoff can be worked into this beautiful tray (no) bake is quite marvellous. And now that biscoff has those beautiful sandwich biscuits (if you haven't tried them then please do) you've got a lovely variety of biscuits going on. No-bake recipes are perfect for me right now, when I really don't have much time around my studies but I always need something sweet after dinner. Doesn't take too long to make and still guaranteed to fix my sweet-tooth :)

If you love biscoff and rocky road....

Check out my other recipes for more inspiration!

Recipe

Prep: 10 minutes + 2 hours chilling time
Cook: n/a
Serves: 16 

Notes:

  • If you are following a vegan diet, check that the marshmallows are 'free from' so that they do not contain ingredients like gelatine. 

Ingredients

  • 400g white chocolate 
  • 125g biscoff spread
  • 50g butter
  • 160g marshmallows 
  • 200g biscoff biscuits, chopped + more on top
  • 70g glace cherries

Method

  1. Grease and line a 20cm square cake tin.
  2. Chop the biscuits. Melt the butter in a bowl and then separately melt the biscoff spread. Then mix the spread and butter together.
  3. In a large bowl combine the biscuits, cherries and marshmallows. Then pour over the biscoff butter mix and mix everything together.
  4. Spoon into the cake tin and spread out evenly then top with more biscuits.
  5. Place in the fridge to firm up for about 2 hours.
  6. To slice, heat a large knife in boiling water to help cut through the rocky road easily. Best stored in an airtight container for up 1 week. Enjoy!

Christina
xx

Share:

Thursday 6 January 2022

Vegan Gingerbread Cheesecake

 Make this delicious cheesecake for the perfect festive dessert, everyone will love it!


Merry Christmas everyone! I've been looking forward to the big day since November, I think the run up to Christmas is just so magical. Uni work and part time working has taken its toll and I'm definitely looking forward to trying to rest a bit, but hopefully next year if things are back to normal I can do some more festive things in London! But until then I'll be in the kitchen baking up some delicious Christmas treats for my friends and family, including this yummy cheesecake. Speaking of which, I don't know why I didn't think of making this sooner. It's so fitting for Christmas, especially for those who aren't keen on a Christmas pudding or a chocolate Yule log. I think a cheesecake is a wonderful dessert option, its a little lighter after a feast no doubt you'll be having, and its so creamy and more-ish. Plus it's all things gingerbread which for me is every thing I want around Christmas. Ginger in the base, the filling and on top. I haven't tried this recipe without the almond butter, I like the nuttiness it brings and I think its a great addition, but by all means try it without, you may need to adjust the quantities a little. 

If you like gingerbread and cheesecake...

Check out these recipes for more inspiration!

Recipe

Prep: 15 minutes + 4 hours in the fridge or overnight
Cook: no bake
Serves: 8-10

Notes:

  • I really recommend using Oatly's whipping cream and cream cheese. Both are on the thicker side which makes the cheesecake filling more stable. Other vegan brands I find can be too watery and make the filling more loose.
  • I like to use an offset spatula to create a smooth flat surface for the cheesecake filling. 
  • The mini gingerbread men I used are the McVities ones, but you can use other mini gingerbread men that you are able to find. 

Ingredients

  • Base
  • 250g Gingernut biscuits
  • 85g Butter
  • Filling
  • 170g Almond butter
  • 230g Cream cheese 
  • 100g Caster sugar
  • 250ml Double Cream 
  • Topping
  • Gingerbread men
  • Whipped cream

Method

  1. Grease a 20cm springform cake tin.
  2. Crush the biscuits in a ziplock bag using a rolling pin or in a large bowl or a food processor. 
  3. Melt the butter then pour over the crushed biscuits and mix.
  4. Press the biscuit base into the cake tin evenly then place in the fridge for 30 minutes.
  5. Meanwhile make the filling. Use an electric hand whisk or standing mixer to whip together the cream cheese, almond butter and sugar until combined. 
  6. In a separate bowl, whisk the double cream to stiff peaks - about 5 minutes.
  7. Fold the whipped cream into the cream cheese mixture then spread on top of the biscuits evenly to create a flat surface. I
  8. Place in the fridge to set for a minimum of 4 hours. 
  9. Pipe some whipped cream on top of the cheesecake and add gingerbread men all around to make it look even more festive. Finish with a sprinkling of crushed gingerbread biscuits in the centre. 
  10. This cheesecake is best kept in the fridge, covered, for up to 4 days. Enjoy!

Christina
xx

Share:
© Christina Cullen | All rights reserved.
Blog Layout Created by pipdig